Blissful Brides’ Wedding E-Invitation Templates: A Step-By-Step User Guide
2019-08-08
A walk-through our wedding e-invitation tool
So you’ve decided to give traditional invites a miss and our online e-invitation function a go. For a fuss-free and efficient way to send out all your invites and organise your guest list, all you need to do now is to head over to our “E-invitation” tab here and follow these 6 simple steps below!
Step 1: Sign up as a member
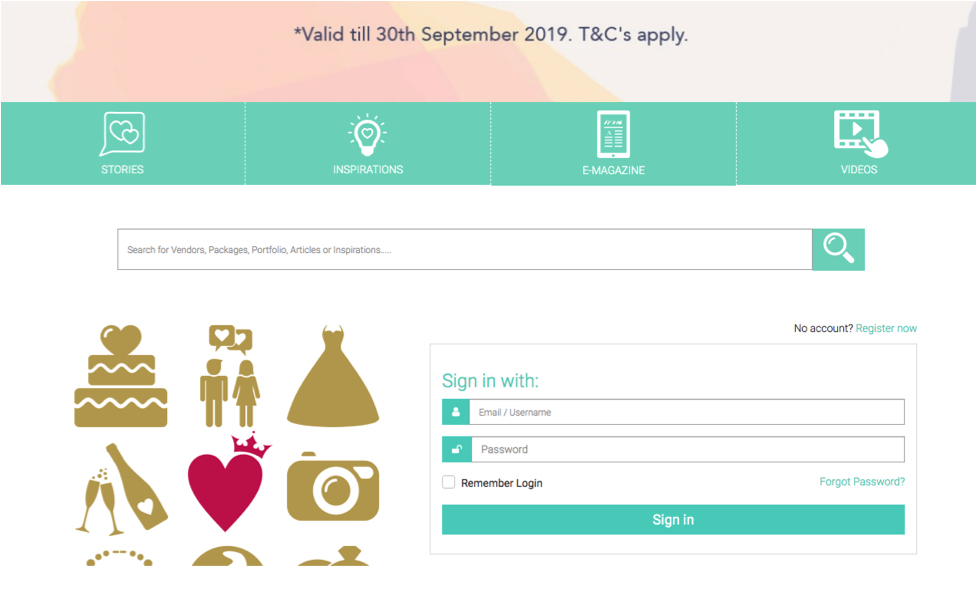
Before you do anything, you first need to be a member on our portal to be entitled to use our e-invitation templates! Once your account is created, you’ll be redirected to the e-invitation page where you can begin your customisation journey.
Step 2: Choose a design
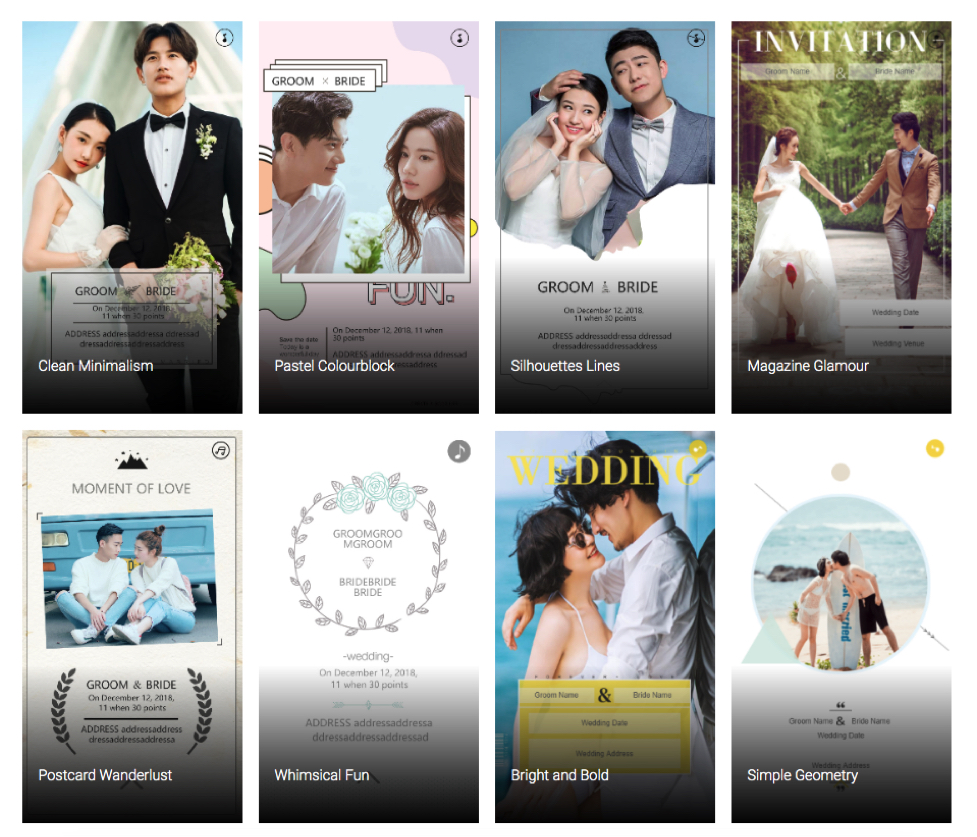
For now, we have a total of 10 designs for you to choose from and will be adding on even more in the future. Whether you’re looking for something cute and whimsical, sweet and pastel, bright and bold, or classy and minimalistic, we definitely have something for everyone, so go ahead, take your pick!
Step 3: Start customising
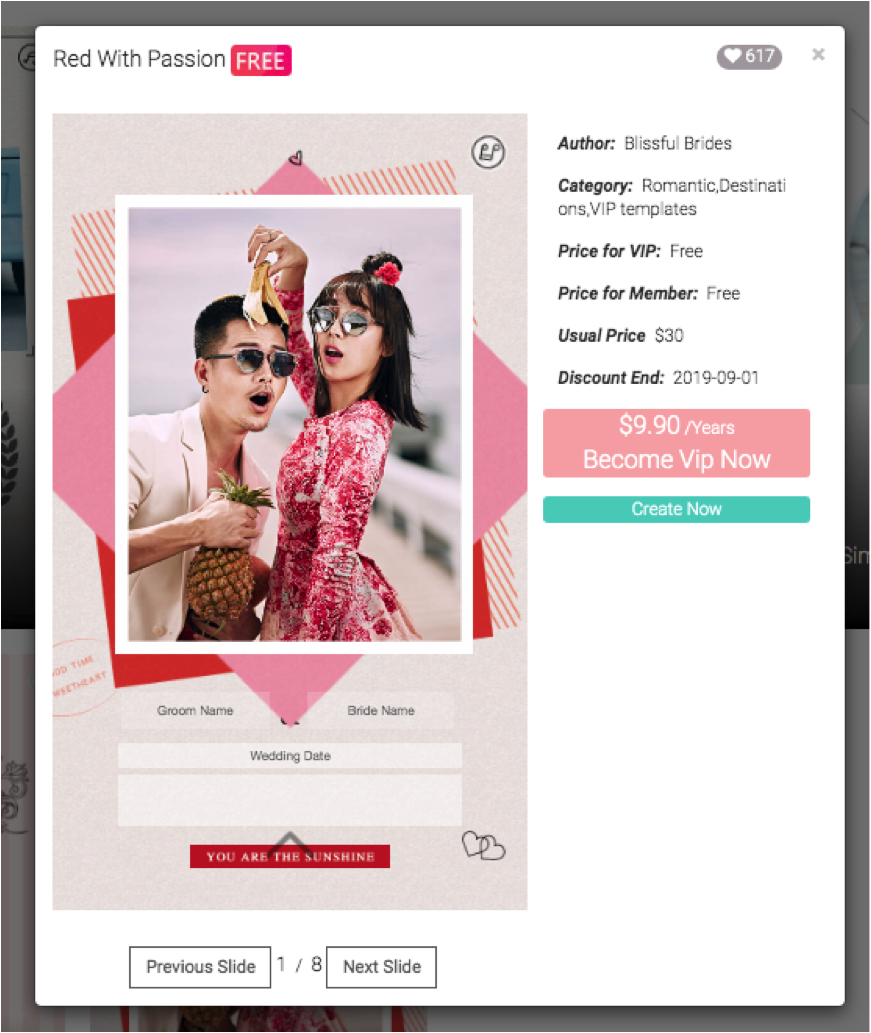
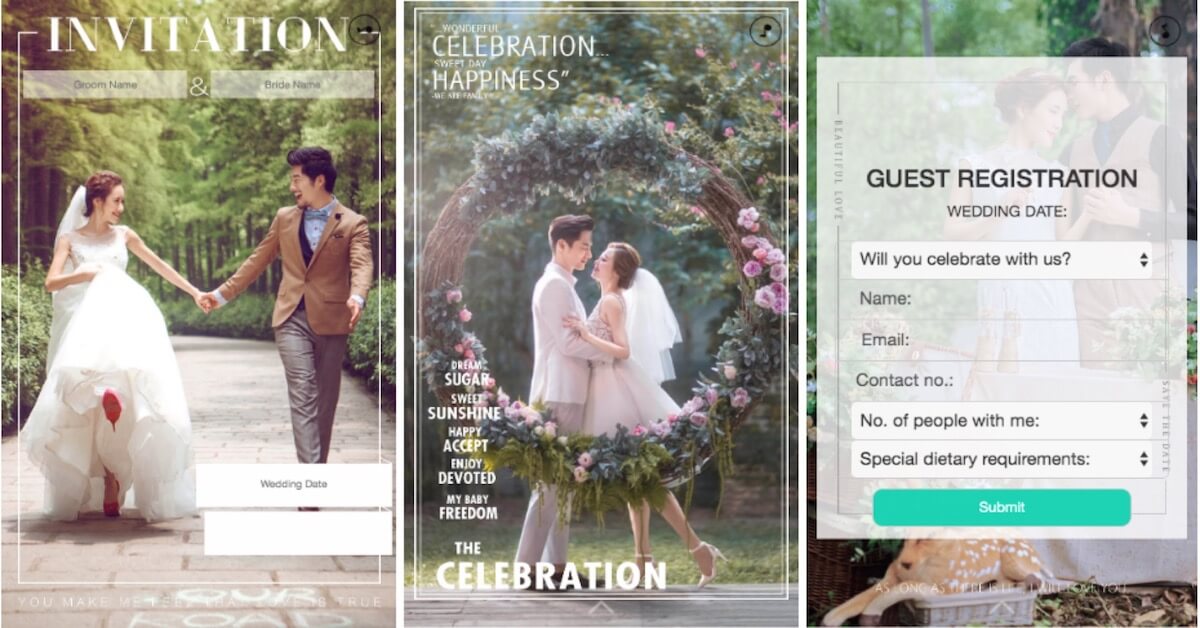
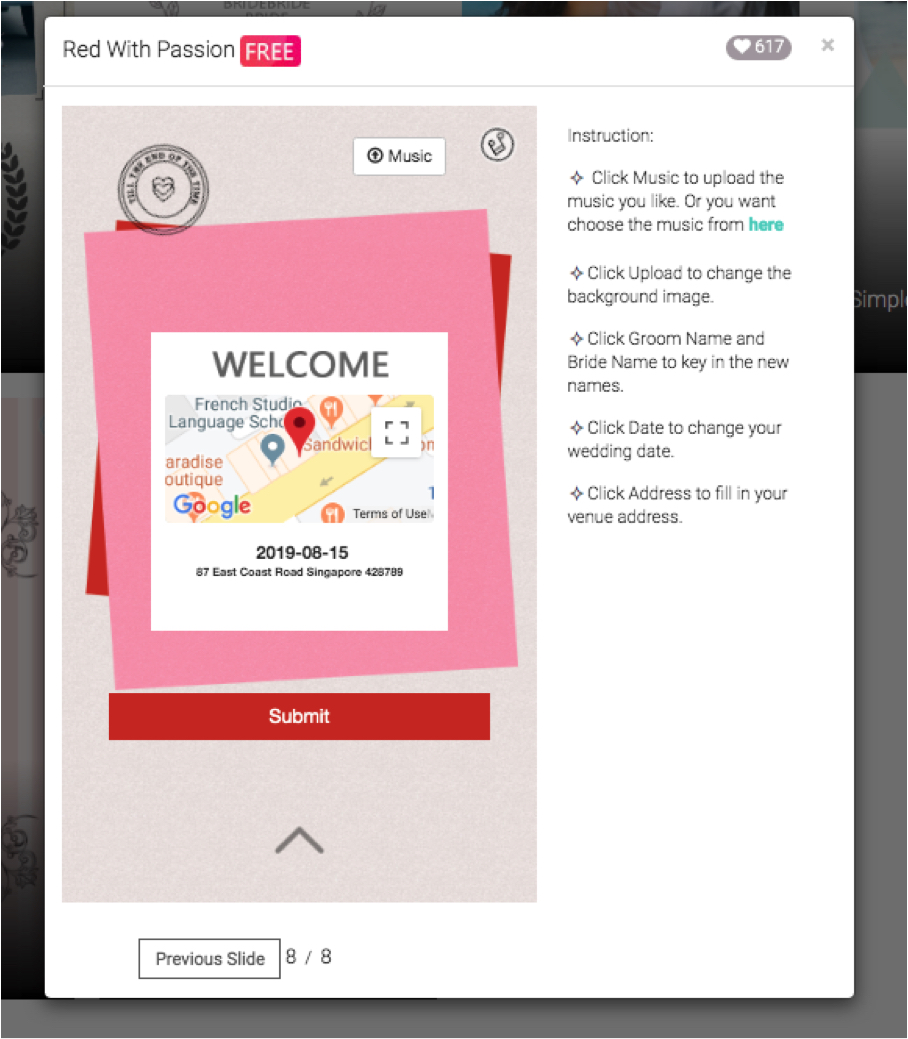
Once you’ve selected a design, click the “Create Now” button and you’ll be presented with a set of instructions on how to customise the template.
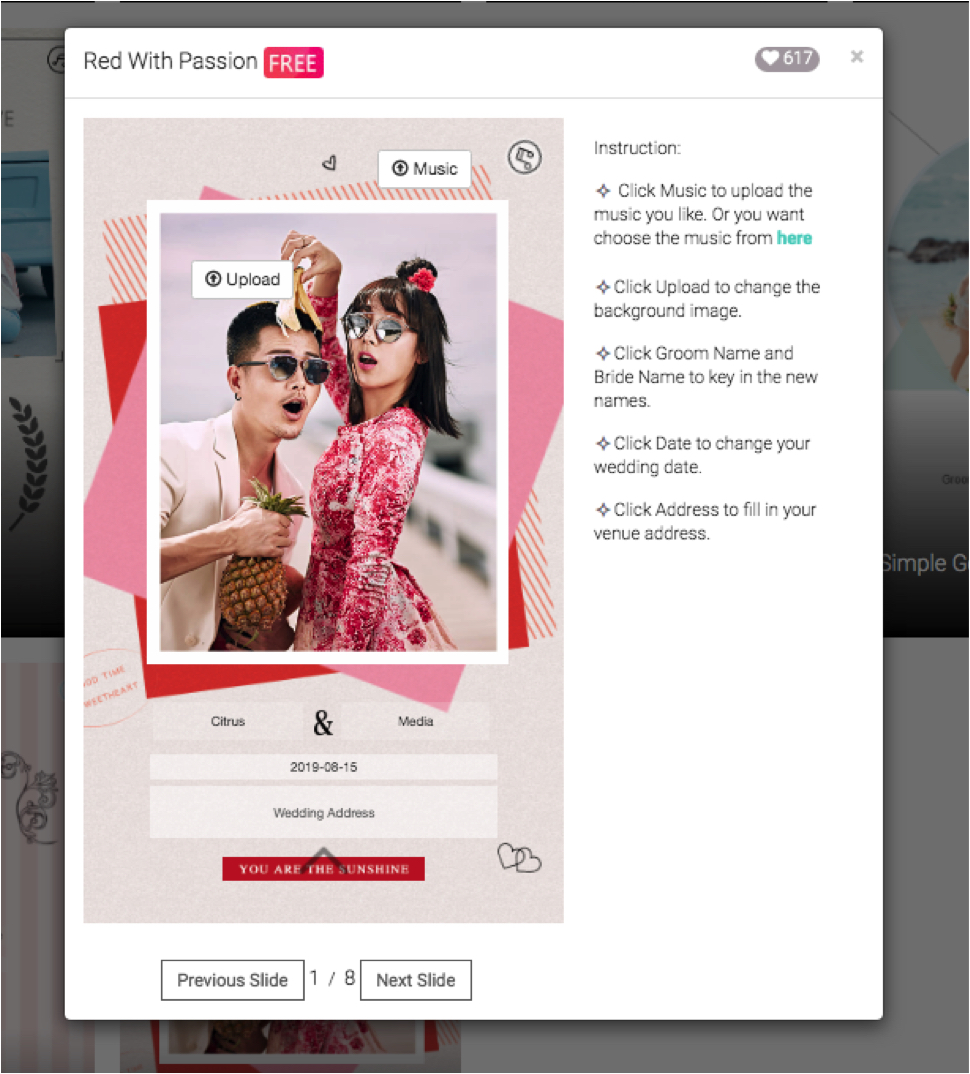
Music tracks uploaded should be in MP3 format and images in JPEG or PNG formats, and we recommend keeping your picture sizes to 1MB or less. Otherwise, the time needed for your e-invite to load completely will increase significantly, and nobody wants to view laggy content on your mobile/web. Make sure to fill in your names, wedding date, and wedding venue address too!
Step 4: Add on extra images
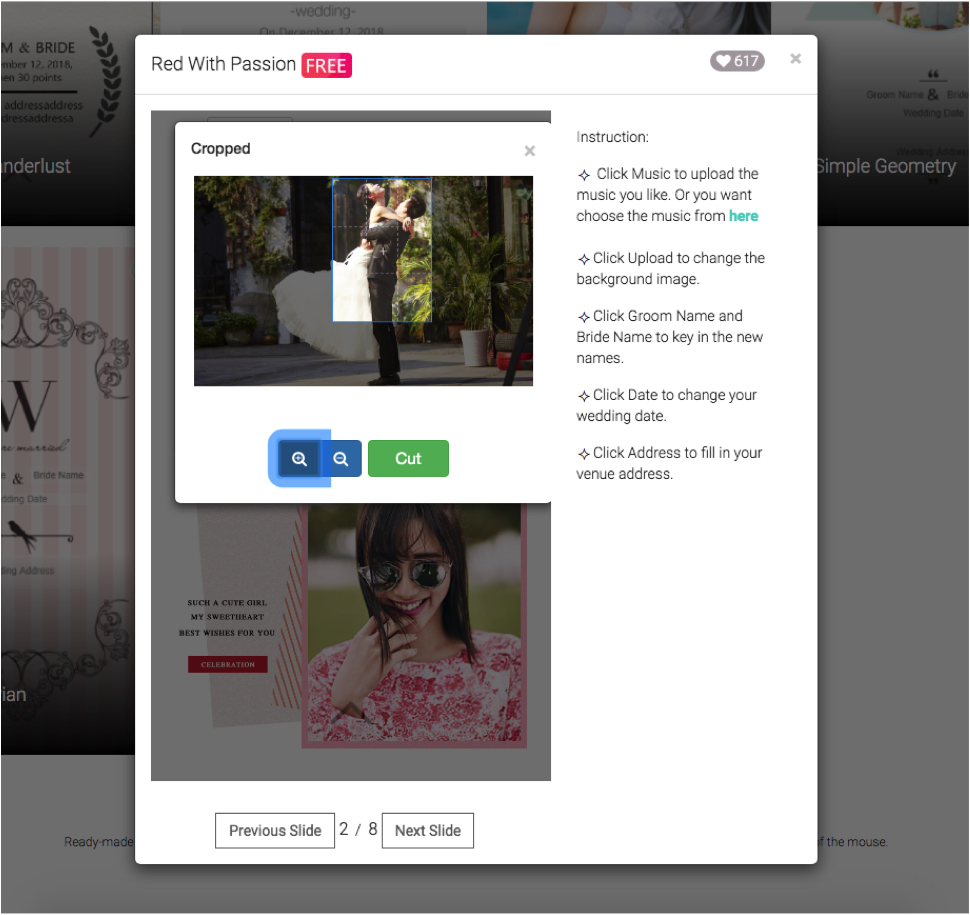
Once you’re done with the cover page of the invite, click to the next slide and begin showing off other pictures of you and your boo! Again, to insert your photos, all you have to do is to press the “Upload” button on the invite template itself.
Our site will have a fixed crop marker ready, so all you need to do is to adjust where to crop and how zoomed in you want your photo to be. You don’t necessarily have to fill up all the slides either; your invitation can range from as little as 3 pages to as many as 8 pages.
Step 5: Fill up the important RSVP details
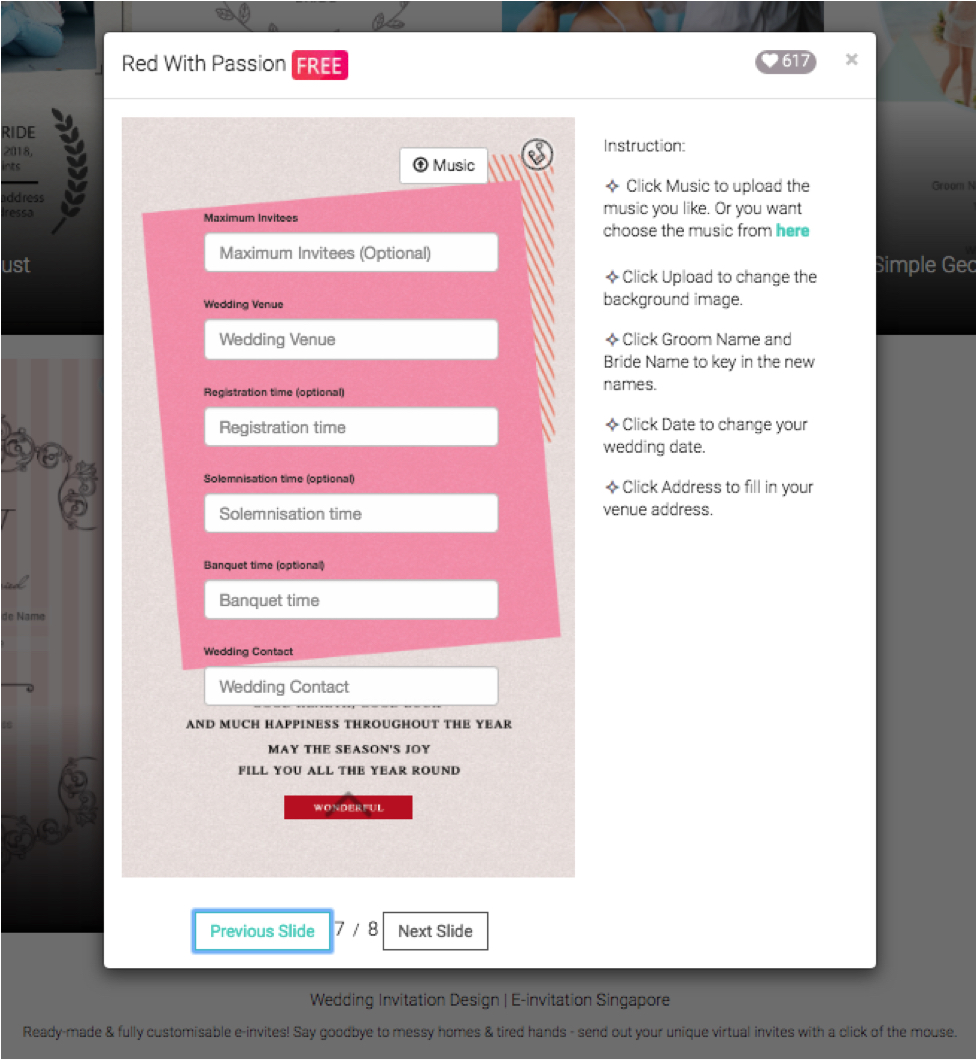
At slide 7, you’ll be required to fill in the other essential details of your wedding that guests need to take note of – think venue, registration time, solemnisation time, and banquet time, if any! There’s also an optional fill for “Maximum Invitees”, which limits the number of RSVPs possible on a first-come, first-served basis.
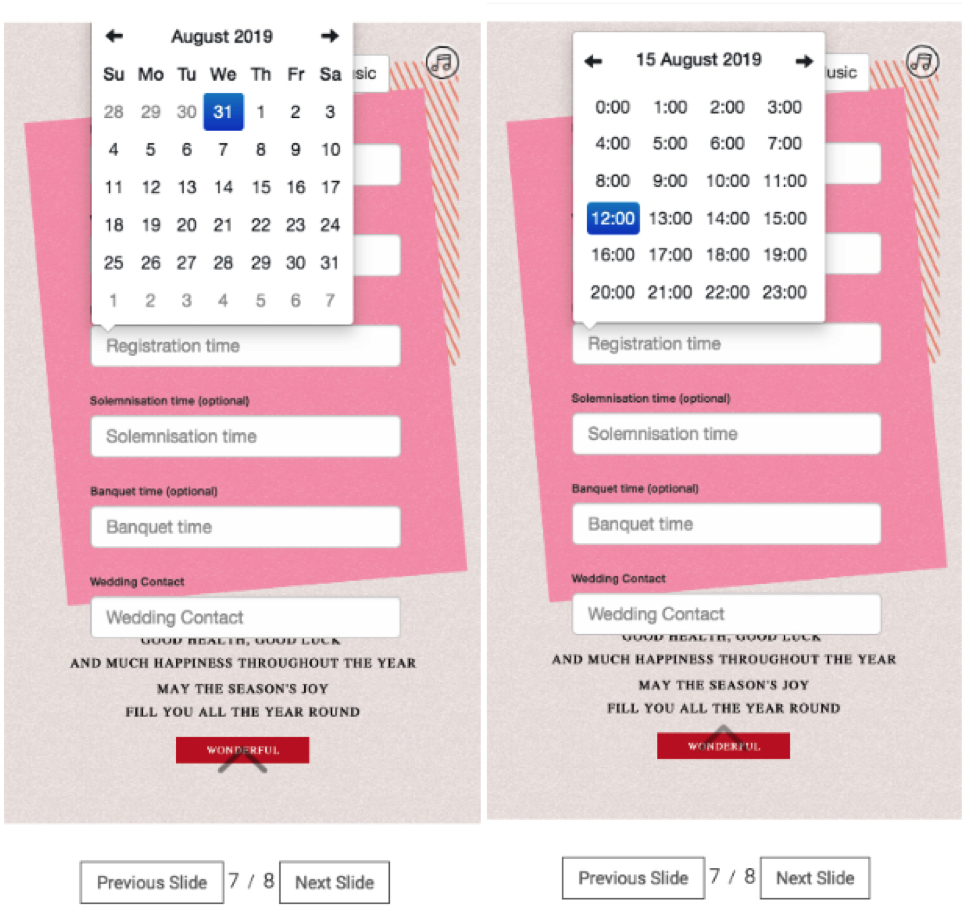
There are date and time drop-down options for easier choosing!
Don’t forget to double-check your “Getting There” directory on the final slide too! There will be a location map function that should be automatically updated once you enter your wedding venue address on the first page. This is to prevent your guests from getting lost or confused!
Step 6: Submit your template
Simply click “Submit” when you’re done with everything! There will be a pop-up prompt to remind you if you’ve missed out anything, so don’t worry about incomplete invitations.
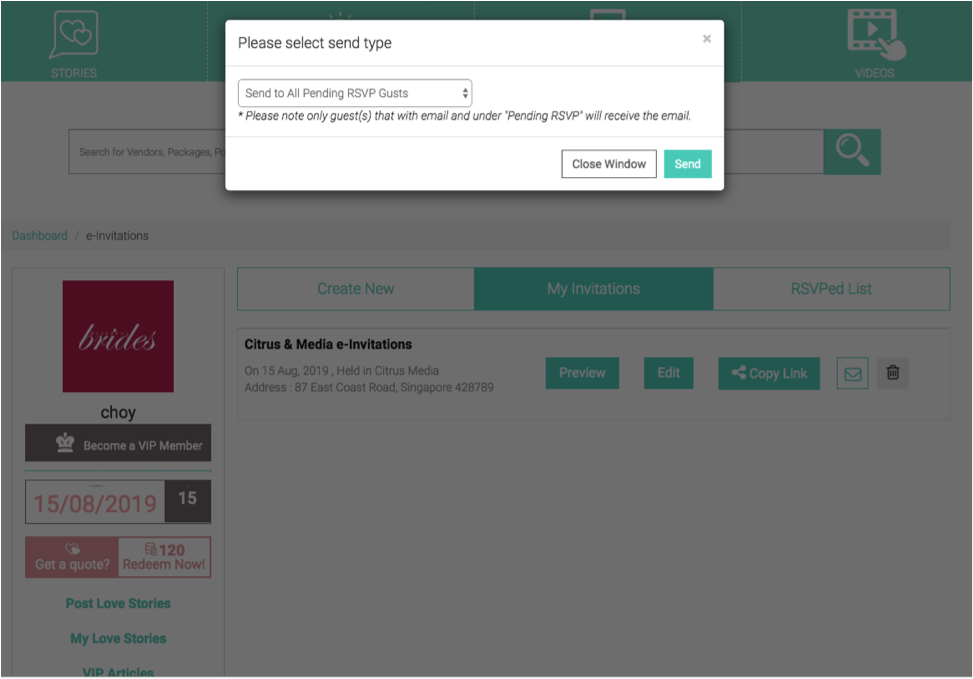
After submitting your template, you will be redirected to a page where you can view your customised invite. If you have yet to upload your guest list onto our portal via our Guest List function, you will be prompted to do so – this will allow us to blast out your invites on your behalf, which saves you plenty of hassle and time!
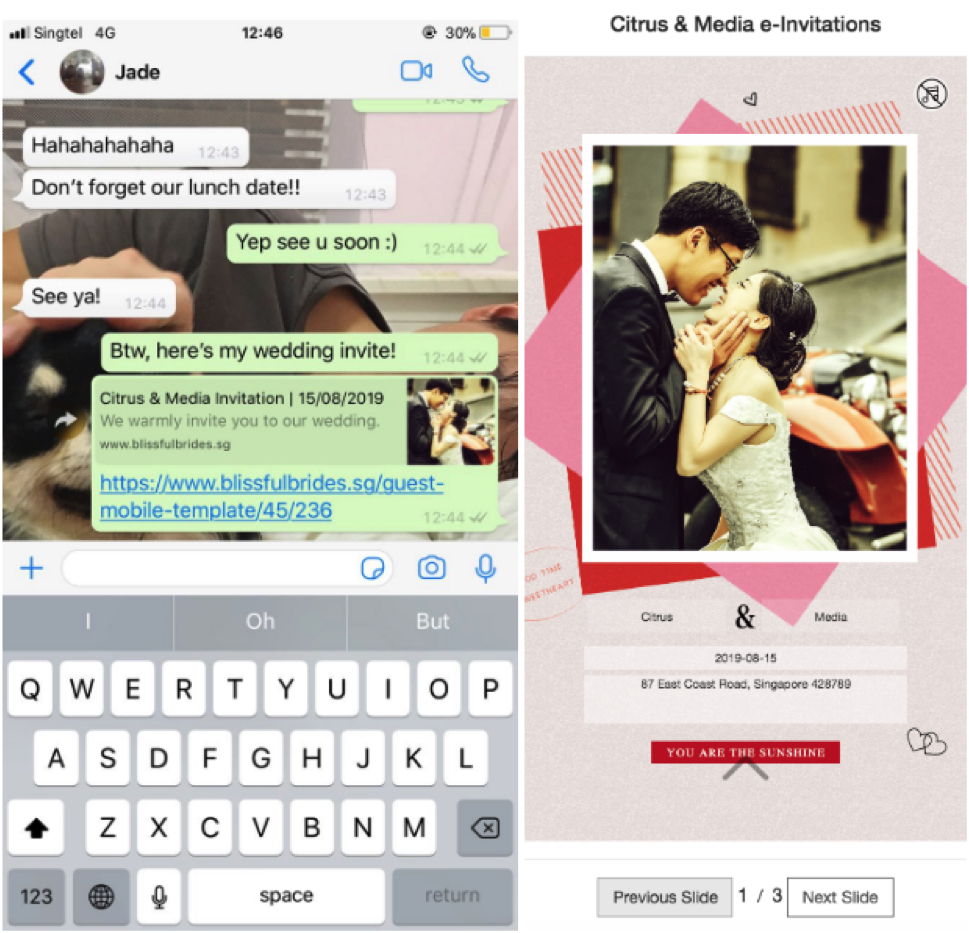
Left: The link makes it more convenient for sharing without the use of emails
Right: This is what guests will see when they open the link
Alternatively, you can copy the link to the e-invite and share it on your chat groups.
The solution to your guest list woes
Now that you’re equipped with this handy step-by-step guide on how to fully utilise our wedding e-invitation tool, go forth and begin making your wedding planning journey an easier and more enjoyable one here!
For the whole month of August this 2019, these 10 templates will be available for all our members to use free-of-charge. After that, come September and October, the premium templates will be locked and only accessible by those who pay a subscription fee of $9.90 (U.P. $19.90), so act fast.
We wish you a happy wedding and a blessed marriage!
P.S. Don’t forget to share this news with your fellow BTB (bride-to-be) friends if they’re looking for ways to plan their wedding more efficiently!
Note: The subscription will expire after a year.
Request a quote from over 450 wedding vendors
Get A Free Quote Now


Blissful Brides | Wedding Guide 2026

GET THE APP


WE ACCEPT


Copyright © 2026 Citrus Media Pte. Ltd.
Reg No.: 200206092Z. All Rights Reserved