Create Your Own Wedding Bouquet
2017-02-28

Before you plunge in to your DIY wedding bouquet project, take note of some of these pointers!
What you will need
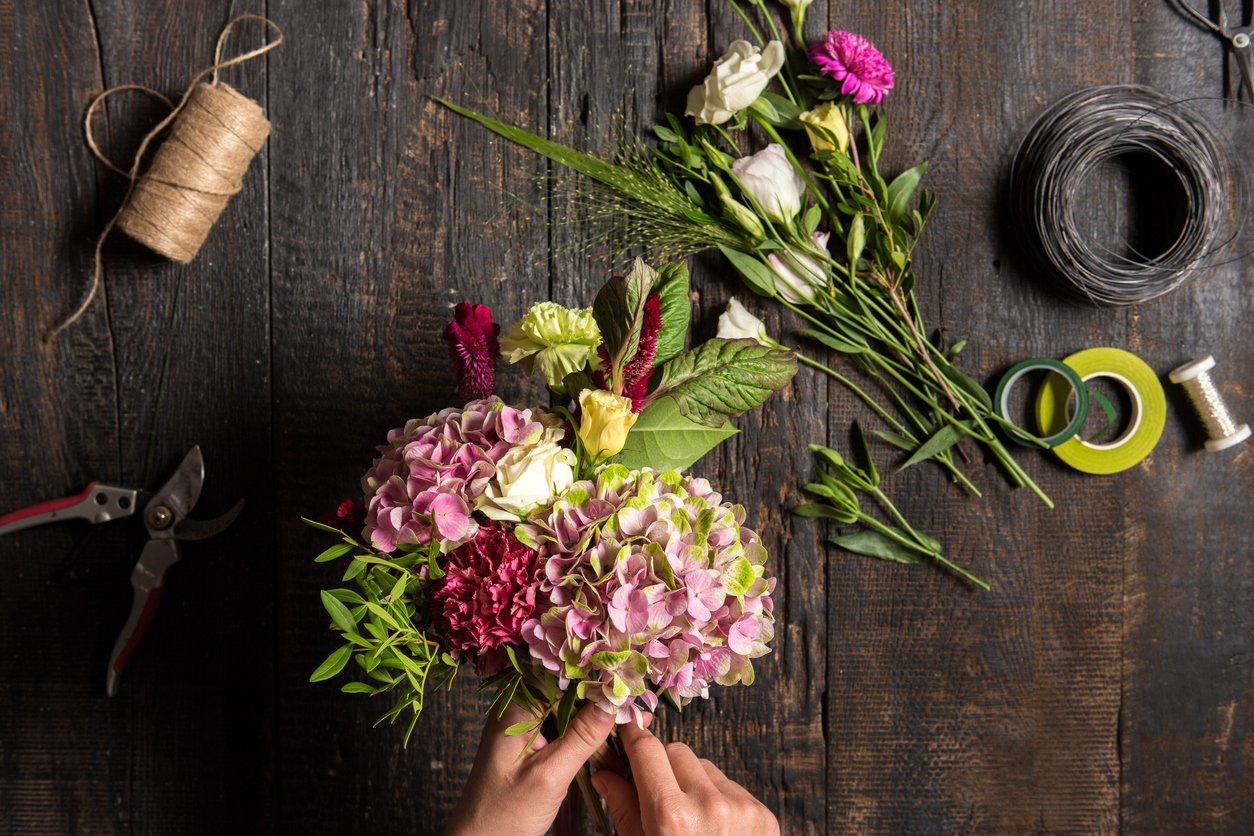
Some of the basic tools you may need are: a floral shear, a bucket to fill with water, floral tape, a bouquet wrap of your choice (such as ribbons), a temporary work space as things are more than likely to get messy, and an eye for aesthetic to decided which flowers go well together.

You will need flowers and other fillers, of course. Talk to a florist if you are unsure of which varieties use. Seasonality is important to keep in mind; buying blooms that aren’t in season might cost you more, or they may not be of the best quality. Don’t be afraid to mix vendors either — perhaps you want to buy some stalks from a brick and mortar florist, and order the rest online.
Oh, and YouTube tutorials. You might need lots of those — it helps.
Fundamental steps
1. Prep your flowers. De-thorn your roses, remove unwanted foliage, and cut the stems to the desired length.
2. Pick two to four flowers as the centre. Then, build your bouquet by adding flowers and other fillers around it.
3. Keep taping. Start by taping the centre. And then, every time you add a couple stalks, tape them to the growing base. This not only keeps your bouquet sturdy, it is also the equivalent of saving your word document every few sentences. Do not tape too close to the flowers or too near the end of the stem.
4. Wrap your bouquet. Once you are satisfied with your arrangement, add the finishing touch which is the wrap. You opt for a simple ribbon that conceals all the floral tape, or larger pieces of paper; you have free rein of how you want your bouquet to be.
5. Store your bouquet. Sustain freshness by keeping your blooms in a refrigerator until you need it for the wedding. Do not prepare your bouquet more than a few days before your big day.


